
Part 2 - Open Core Mesh
...Continued from Part 1 - Introduction
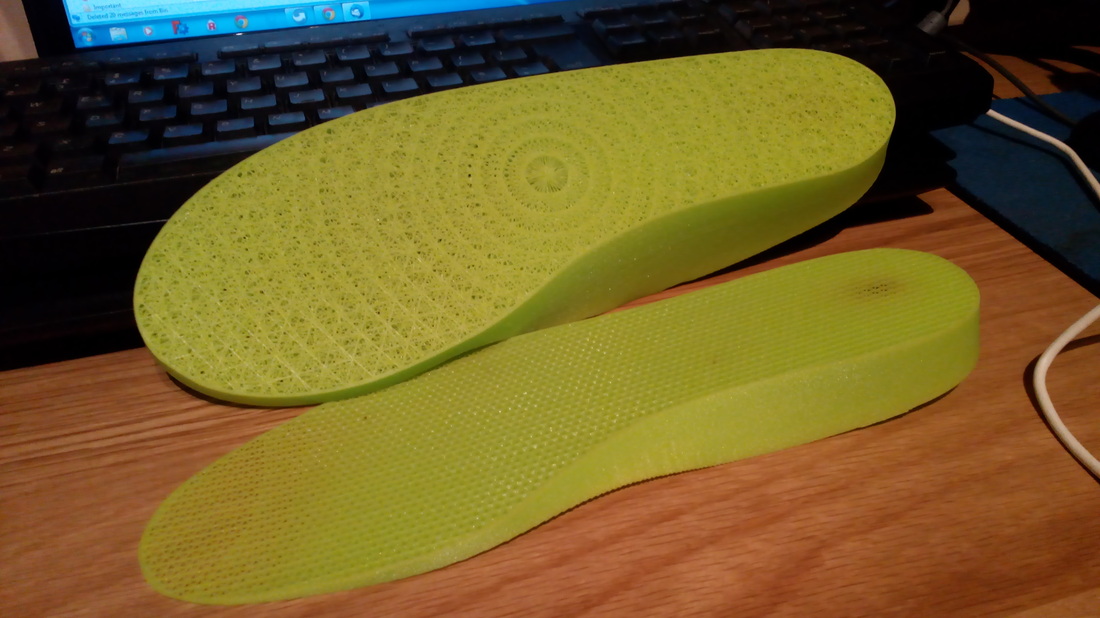
When I printed my first insole I noticed it was extremely tough, rugged, and elastic, these were all great properties for long term durability. However I noticed that the insole was relatively watertight and so I thought this would be an issue for perspiration and therefore personal hygiene.
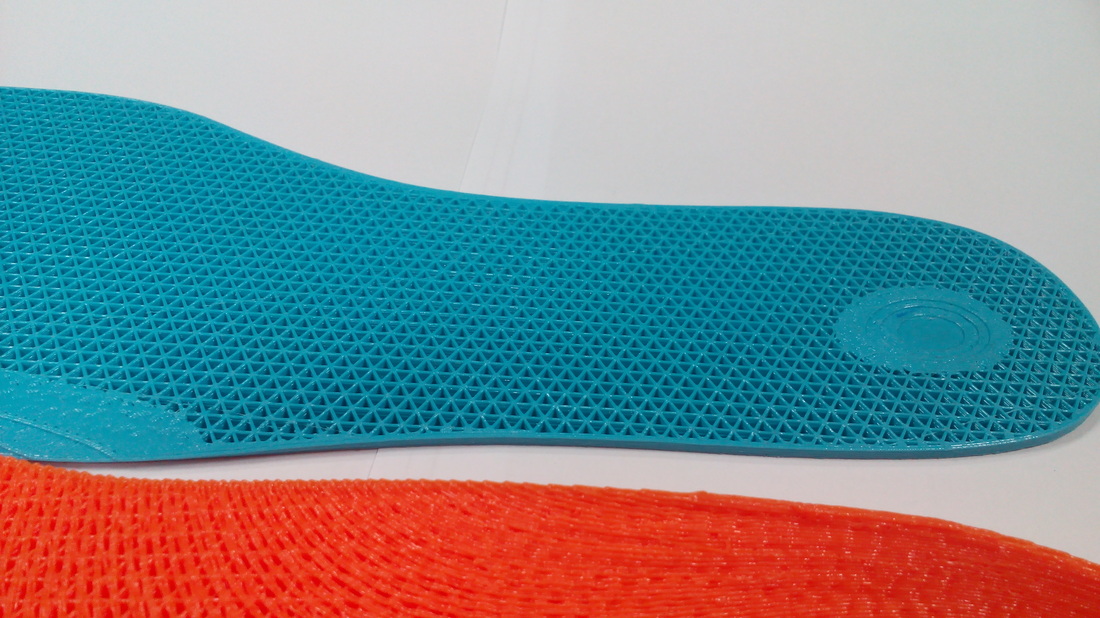
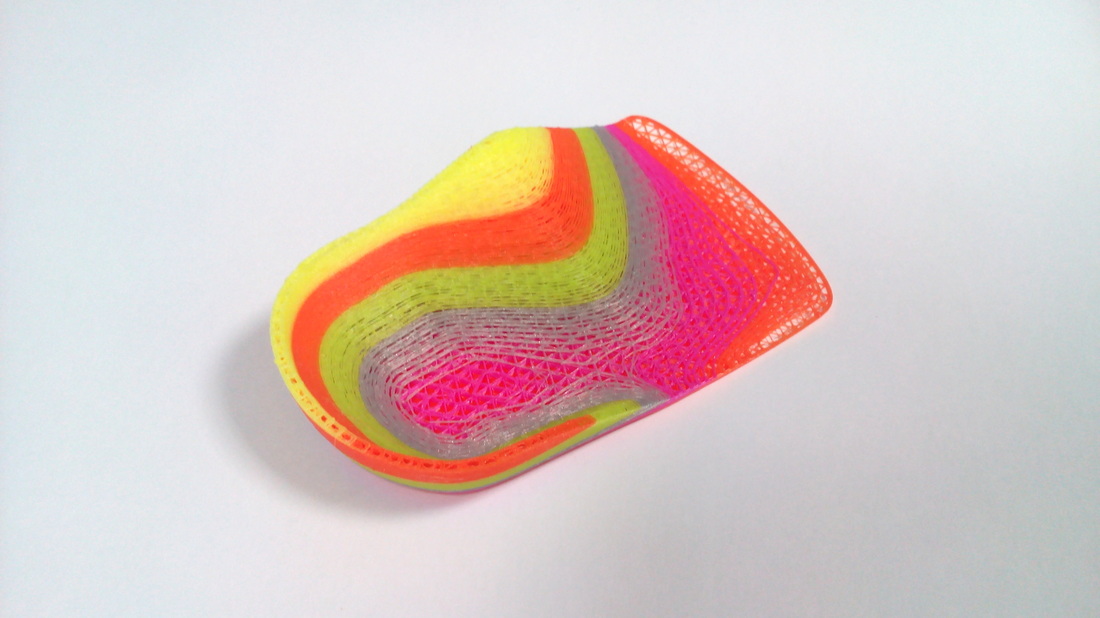
Closed Core (Top and Bottom Surfaces Printed)
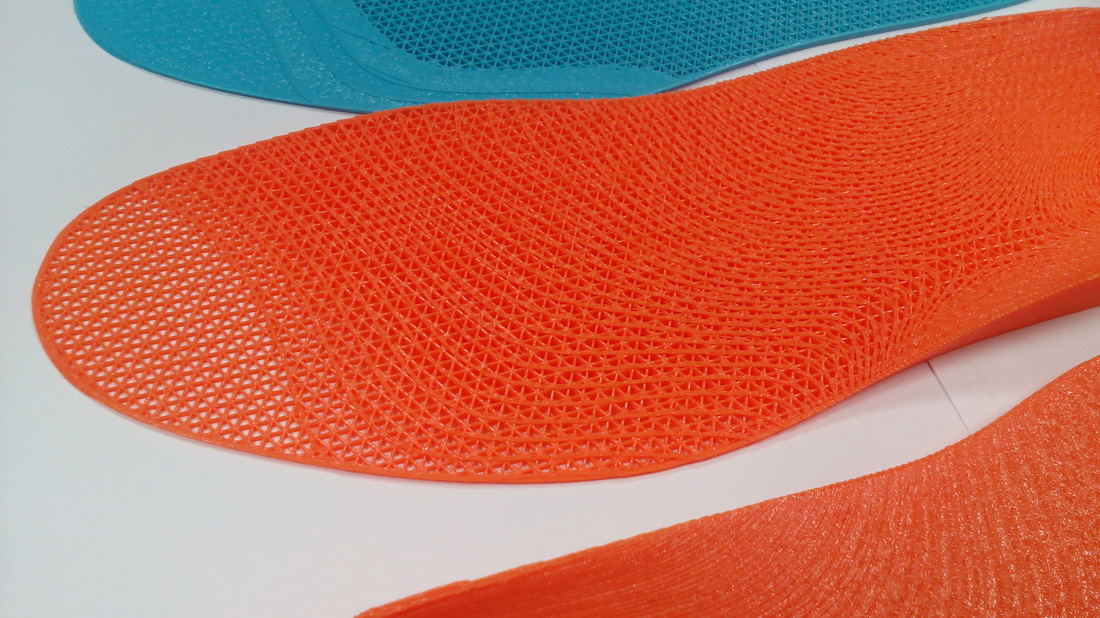
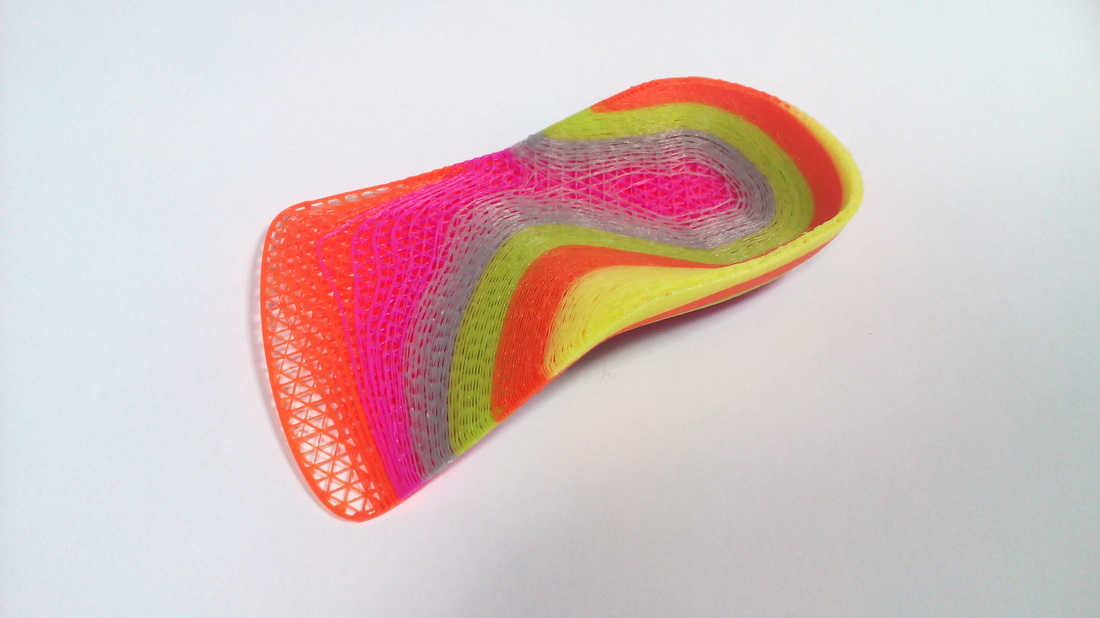
Open Core (Top and Bottom Surfaces Omitted)
As can be seen in the photograph above, the closed top and bottom surfaces effectively seals the insole. This option of insole although has been favourably received by Podiatrists, it would more likely need a cover adhered to the top surface to provide appropriate moisture absorption and some ventilation. This cover over time could need replacing/cleaning and add to the maintenance of this print.
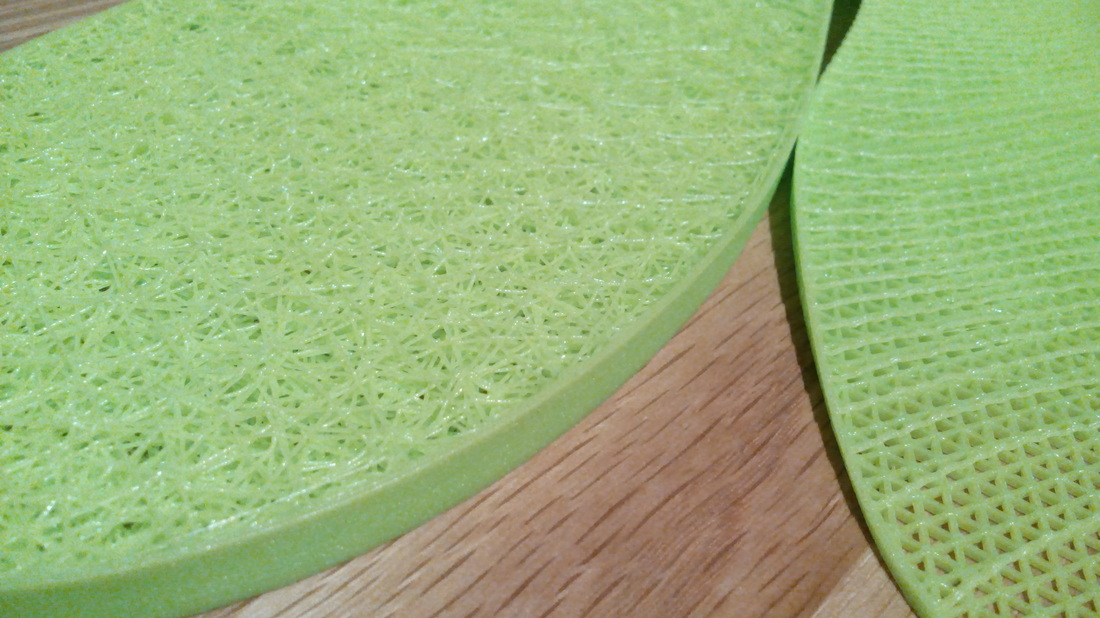
This is the same model although simply mirrored for the opposite foot in this case. The top and bottom surfaces of the print have been omitted in the slicing software (Slic3r or CraftWare). This exposes the infill inside and allows some breath-ability to the sole of the foot. This insole can be fully washed in soapy water and sprayed with an antibacterial for longevity between washes.
For the same infill settings as the closed core, the insole is softer and is much quicker to print and uses less filament. A firmer print can be achieved by increasing the density of the infill.
For the same infill settings as the closed core, the insole is softer and is much quicker to print and uses less filament. A firmer print can be achieved by increasing the density of the infill.
Types of Infill
The infill pattern/density and orientation all change the properties of the insole, and this is where the skill of knowing what the recipients requirements are would determine what slicing parameters to select. There is of course the good old fashioned trial and error method.
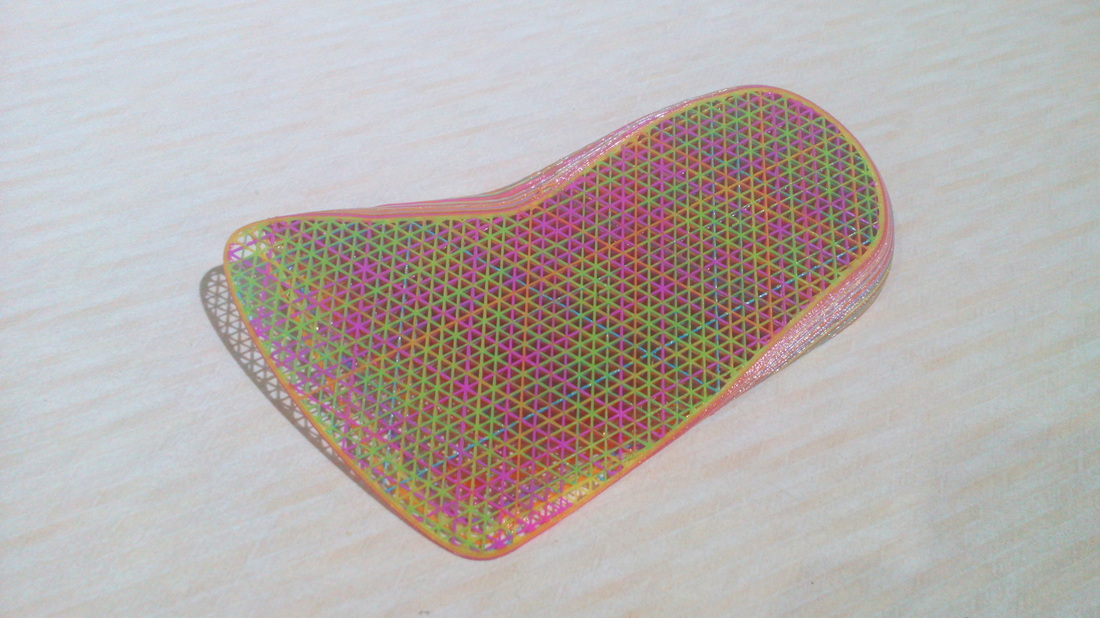
Triangular Infill Pattern.
A triangular or honeycomb infill pattern such as the two photos above will have a stronger side wall structure in flexible filament than the square infill pattern below which has a tendency to "lozenge"
The advantage of a square infill pattern is that it allows the side wall to conform to the inside profile of an off the shelf shoe more readily without the insole buckling.
There are lots of different types of infill in various slicer packages so go forth and experiment, even MakerWare has Sharkfill and Catfill
There are lots of different types of infill in various slicer packages so go forth and experiment, even MakerWare has Sharkfill and Catfill
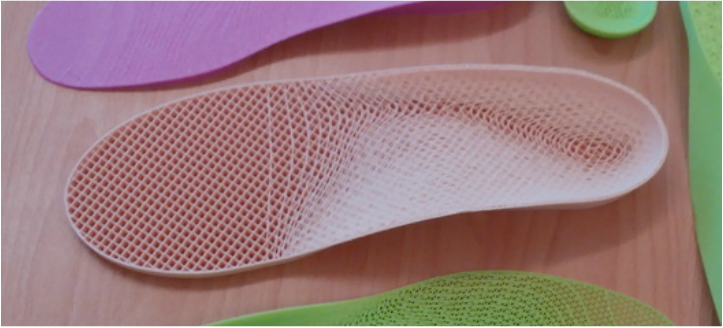
Square Infill Pattern
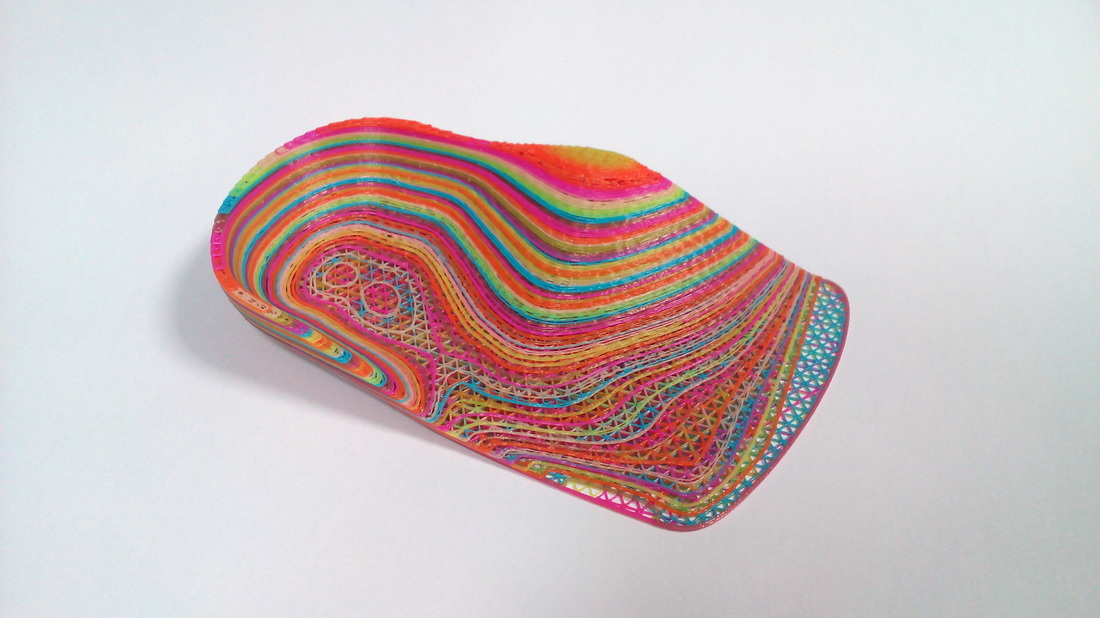
Rotational Angle Increment Infill
Infill Rotation (Top) = 15°
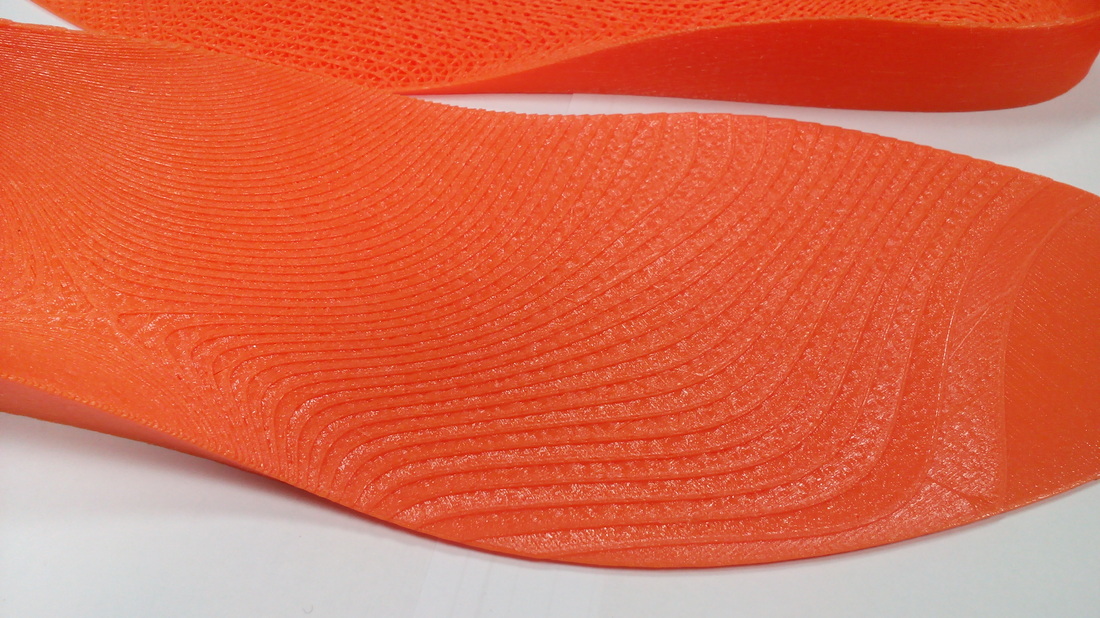
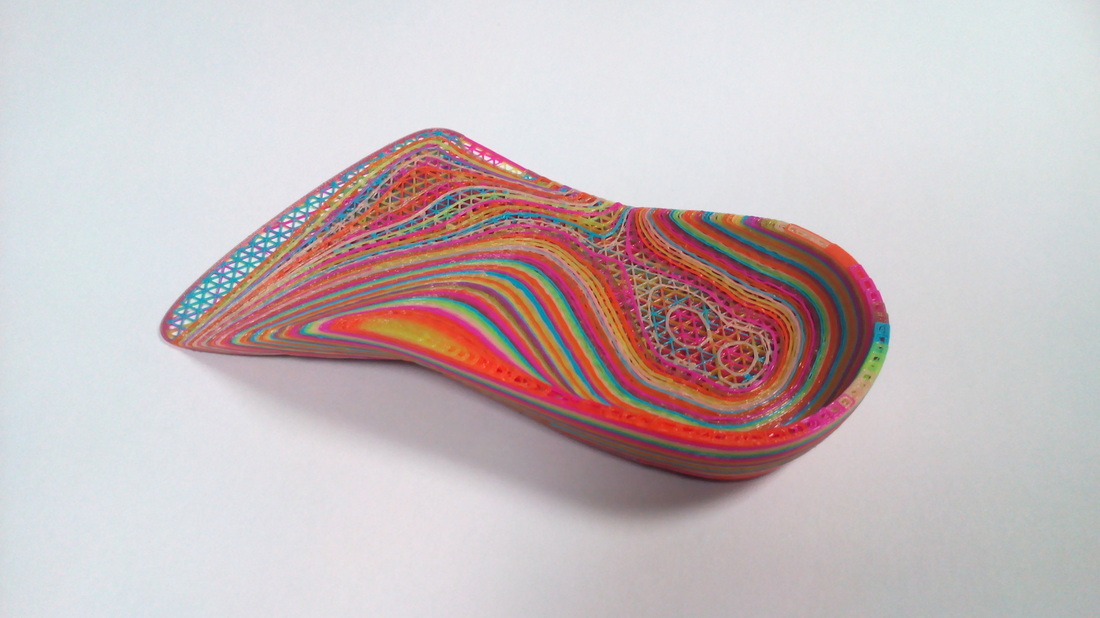
There is an option in the CraftWare slicer to rotate each layer by a specified increment which has some interesting results. In the photos below, the difference between the two is remarkable and the properties of the insole changes too.
Infill Rotation on the left.
The insole on the left was sliced and printed with 5% "Rotational" infill. The one on the right was sliced more traditionally at 15% and the print times reflected this too.
It's another option to look out for.
It's another option to look out for.
One of the effects I enjoyed the result of was to use different coloured Filaflex throughout the print. With the Open Core mesh the colours really came though
Fancy a Bit of Colour?
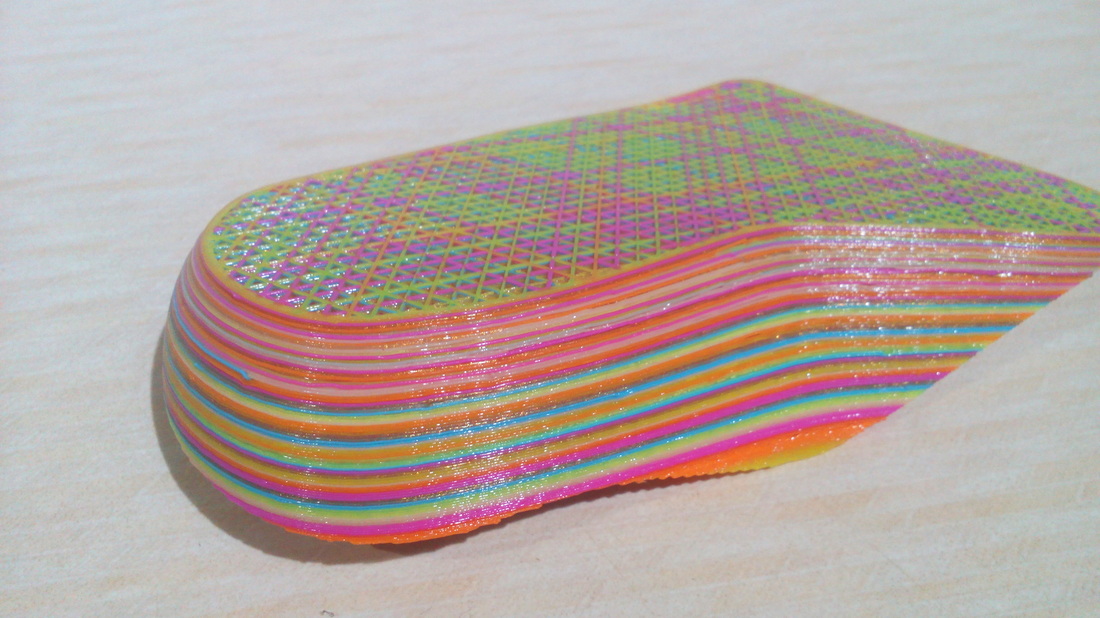
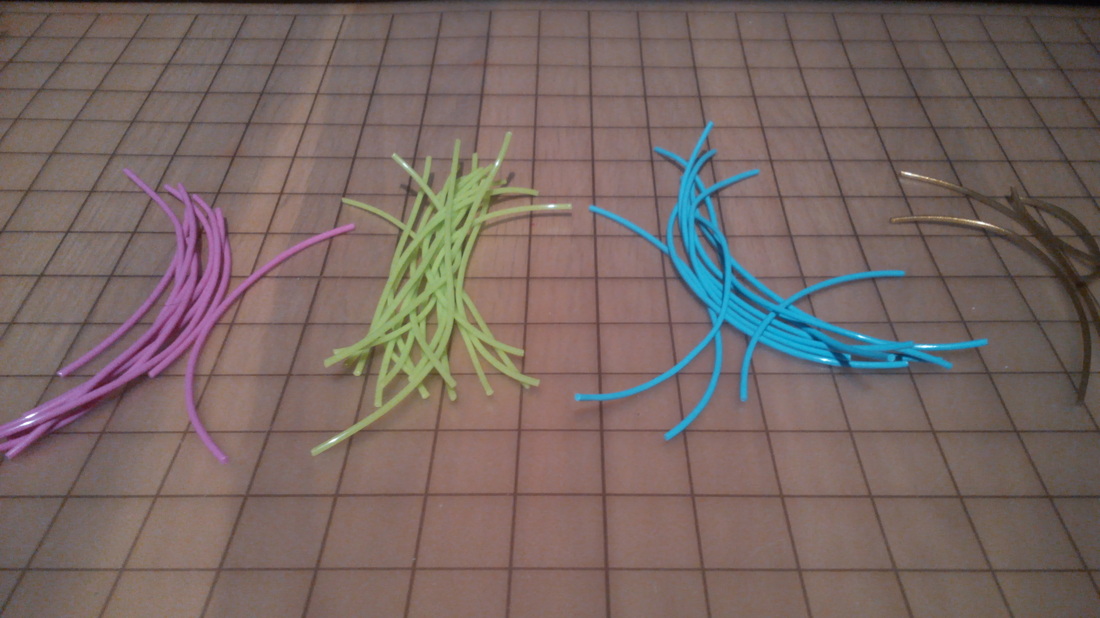
Little strips of Filaflex Ready to Load
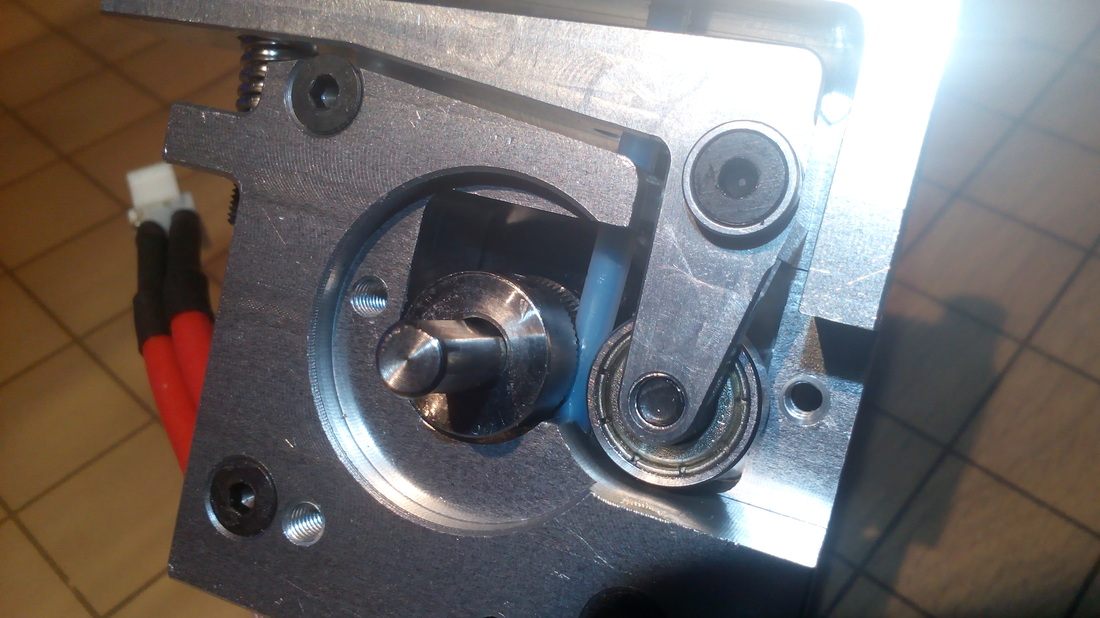
For those that want to know, I used the Recreus Extruder fitted to my Witbox with a PTFE feed tube modification. This is probably going to be another post to show it in full when I get time :

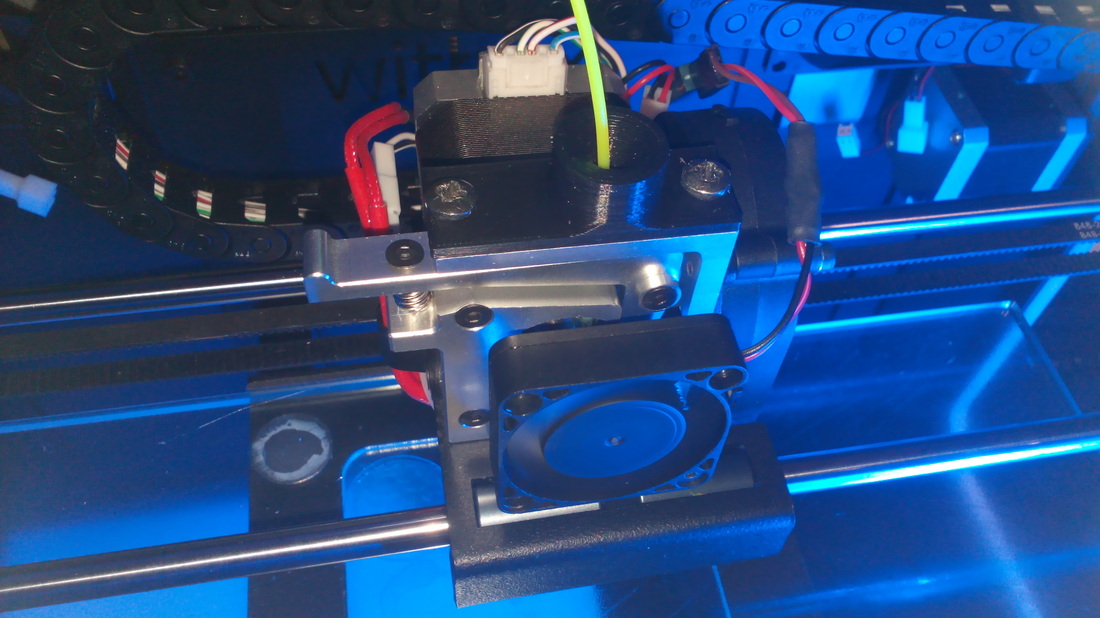
Here is a video of the Witbox printing one of the coloured heel inserts :
If you would like to have a practice at printing some simple insoles, messing around with the density values and patterns then download some examples from my Thingiverse page.
In the next article I will be writing about "Variable Density Meshes" and how to programme for these zones in Slic3r.
The disclaimer here is that I am only providing information, this is not medically certified and is not designed to be such, but hey in many parts of the world, people walk round on planks of wood or old car tyres so everything is builder beware. Go forth and MAKE!!!
 RSS Feed
